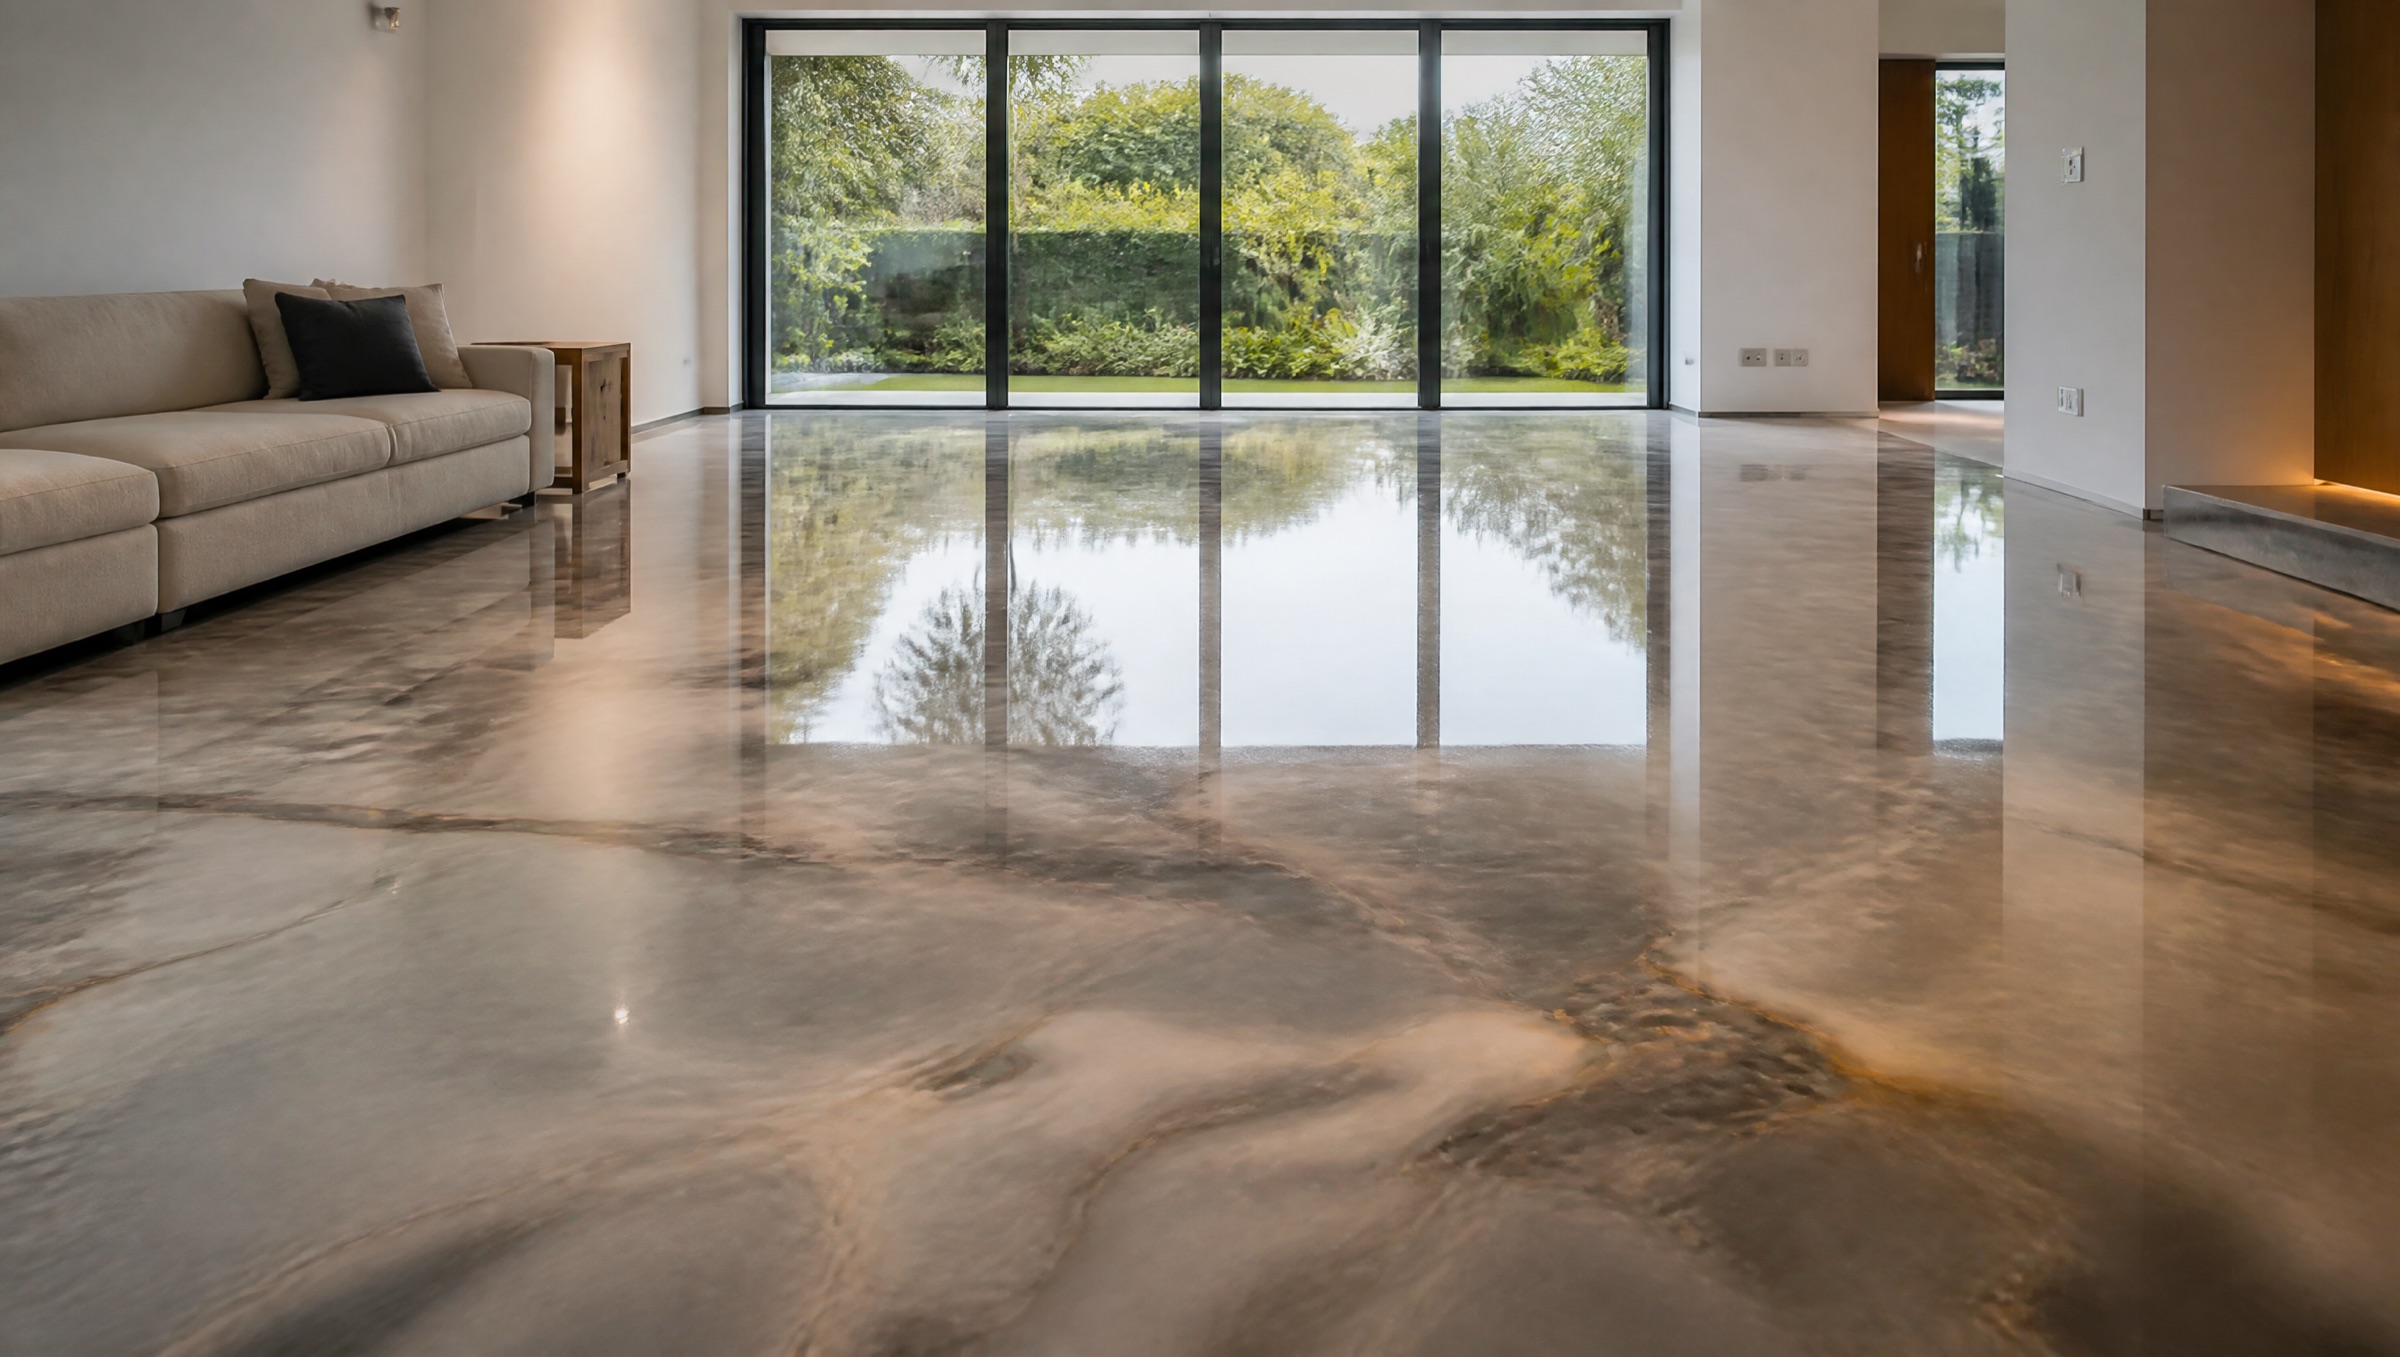
Decorative & 3D Epoxy Flooring in Nairobi
Decorative epoxy
Pigmented or metallic epoxy, poured seamless · UV-stable clear topcoat
Runda, Nairobi
64 m² · three days on site
A decorative pour is one continuous piece of resin, edge to edge, with no joint anywhere in the room. The colour is not painted on top of it; it is suspended inside it. Metallic pigment is dispersed through a clear 100 % solids, self-levelling epoxy, poured out, and then moved: pulled with a squeegee, cut with a second colour, and blown open with air until the veining sits where we want it. Around Nairobi it goes into homes, offices and showrooms; the floor above is 64 m² in Runda, poured over three days.
Everything after that is timing. The resin stays workable for a fixed window and then it is finished with you or without you, which is why this is the one system we will not rush onto a slab that is not ready. A torch is passed over the surface to release trapped air before it gels, and a UV-stable clear coat goes on the next day to take the wear, so what you walk on is never the decorative layer itself.
Metallic, 3D, marble, or one flat colour
Metallic is the finish people arrive asking for: two or three pigments worked wet-on-wet so the floor reads like poured stone, with depth that moves as you cross the room. A marble effect is the same technique held to a tighter palette and cut with a fine white vein. Both are decided on a sample board on your own slab, in your own light, before a single pail is opened; pigment behaves differently under a north-facing window than it does under downlights.
A 3D floor turns the method inside out. The picture is a printed image laid flat on a pigmented base coat, then buried under a clear self-levelling pour thick enough to give it depth, so what you walk on is resin over the image, never the print itself. It is only as good as the base under it: any ridge in the slab shows as a crease in the picture.
A plain solid colour is the quiet version of the same system, and often the right one in an office or a corridor. It costs less in pigment and labour, shows every bit of poor prep underneath, and looks flawless when the prep was right.
What a mirror floor tells on you for
A high-gloss floor is honest to a fault. It shows dust, it shows a dropped bolt, and it shows any hollow or ridge the slab had before we got there, which is why the grind and the levelling matter more here than on any other system we lay. It is also not a slip-resistant surface when wet, and we will not specify it gloss for a bathroom or a poolside without working fine aggregate into the topcoat.
The other honest limit is sunlight. A standard epoxy clear yellows under direct UV. Every decorative floor we lay is topped with a UV-stable polyaspartic or polyurethane instead, and even then, a floor in an atrium with hard south light will shift more over ten years than one in a hallway. If that matters, we say so at quoting, not afterwards.
Where this system belongs
Specified for
- Living rooms, hallways and stairs: where a joint-free floor is the whole point and the traffic is domestic.
- Showrooms and reception areas: a floor that mirrors the lighting rig does more for a car or a kitchen display than any amount of signage.
- Offices and boardrooms: usually in a solid colour rather than a metallic, poured around existing partitions.
Not specified for
- Wet rooms and pool surrounds: gloss plus water is a slip risk. Quartz broadcast (system 04) gives you grip that survives a mop.
- Garages and workshops: grit tracked in off the road scratches a mirror. Flake floors (system 02) hide exactly that.
- Anywhere on wheels or heat: forklifts want a mortar screed (05); steam and hot washdown want urethane cement (03).
- Poured build
- 2 mm
- On site
- 3 days
- Foot traffic
- 24 h
- Full cure
- 7 days
- Finish
- gloss or satin
- Slab ceiling
- 75 % RH
No test, no pour
“Every metallic floor is signed off on a sample board laid on your own slab, in your own light. Pigment does not behave the same twice.”
Appendix · the build-up
Coat by coat, top coat down to the slab
- Clear topcoat
- Primer
- Ground slab
Ground slab
Diamond-ground to an open CSP 2–3 profile, hollows filled and the whole floor levelled; a mirror shows every one of them.
CSP 2–3Primer
Moisture-tolerant epoxy, soaked into the open concrete. The coat that changes if the slab reads wet.
≈200 µmDecorative coat
100 % solids epoxy carrying the pigment, poured and worked wet, then torched to release trapped air.
1.5–2 mmClear topcoat
UV-stable polyaspartic or polyurethane. This is the layer that takes the wear, not the decorative one.
2 × 125 µm
Living with it
Dust mop, then a neutral-pH cleaner. No abrasive pads and nothing with ammonia. Felt pads under furniture legs. When the clear coat eventually dulls, it is screened back and recoated; the decorative layer underneath is never touched.
Laid with
Double-row cup wheel · Single-row turbo cup wheel · Trapezoid segment, 30/40 · Hexagonal segment block · Diamond bits, full set · Forced-action paddle mixer · Gauge rake & squeegee · Notched finishing trowels · De-aerating spike roller · Spike shoes · Silicone half-mask respirator · Knitted cotton gloves